Totinos Pepperoni Pizza Rolls are ready to bake in a preheated oven. Place the frozen rolls on a baking sheet, 10‑12 min at 400°F (204 °C) until golden. Flip halfway for even crispness. Serve hot with a side dip for a quick snack. Keep the oven door closed for heat, letting rolls rest a minute before serving.!
What Are Pizza Rolls?
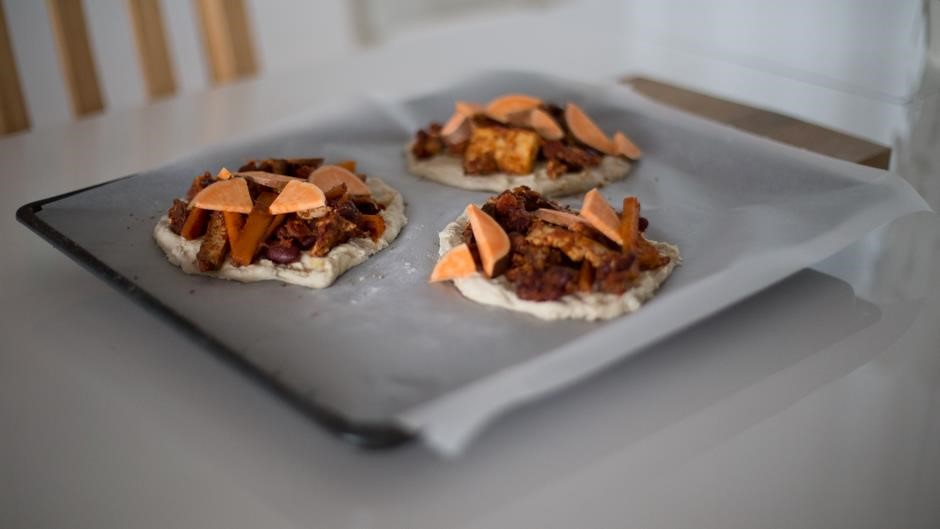
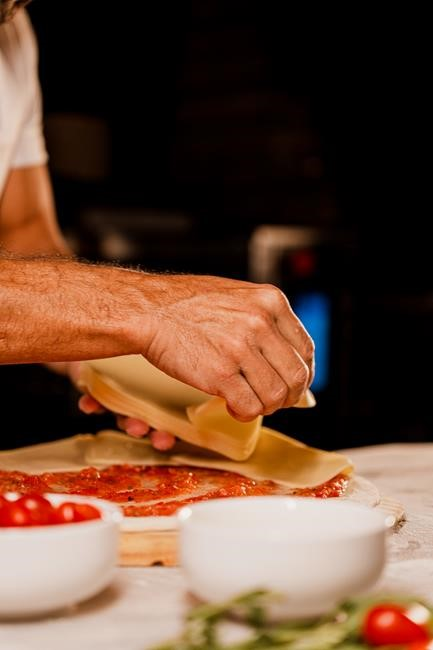
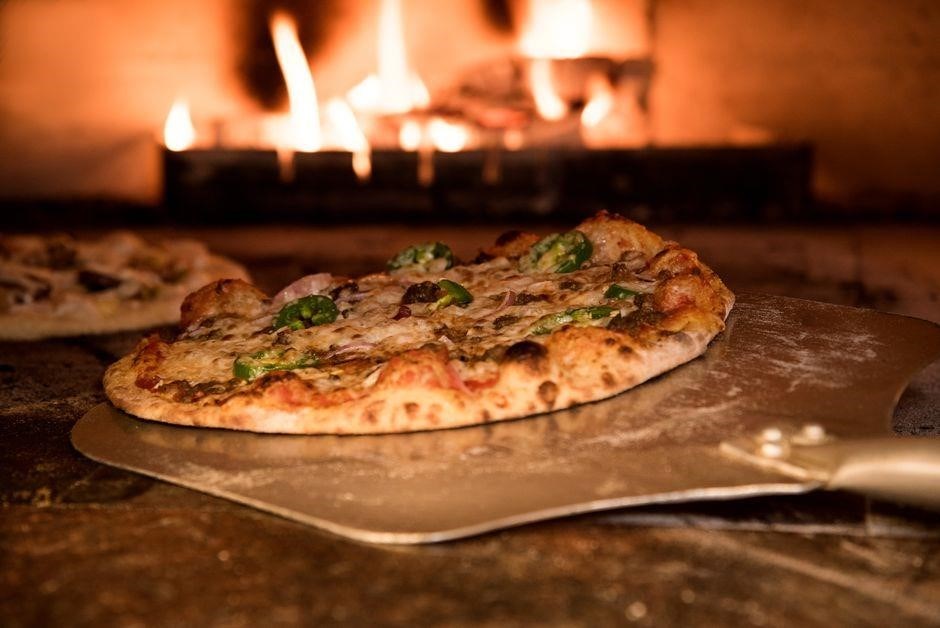
Pizza rolls are bite‑size parcels of dough filled with classic pizza ingredients—moist tomato sauce, melty cheese, and savory meats or vegetables—then sealed and baked or fried to a golden crisp. The dough, often a simple yeast or shortcrust base, encases the filling, creating a portable, handheld snack that delivers the full flavor of a pizza slice in a convenient pocket. Commercial varieties, such as the Totinos Pepperoni Pizza Rolls, use a pre‑sealed, frozen dough that’s ready for quick oven or microwave heating. These products are designed for instant gratification: a 50‑count bag contains individually portioned rolls that can be heated in minutes, making them ideal for game‑day parties, family dinners, or a late‑night craving. The dough’s texture ranges from flaky and buttery to chewy, depending on the recipe, while the filling typically includes a blend of mozzarella, cheddar, or provolone, a tangy marinara or pizza sauce, and a generous sprinkle of pepperoni or other toppings. When baked, the cheese melts and the dough browns, creating a satisfying contrast of soft interior and crisp exterior. Pizza rolls can also be homemade, allowing for creative fillings—spinach and feta, pepperoni and pepper, or even a sweet dessert version with chocolate and marshmallow; Regardless of brand or homemade status, the core concept remains the same: a compact, flavorful bite that captures the essence of pizza in a single, portable piece
Pizza rolls surged in popularity in the 1990s with frozen snack lines, and today they remain a staple in many households. The format allows chefs to experiment with flavors—rolls with salsa and jalapeños,or versions with olives and feta
Benefits of Baking vs. Microwaving
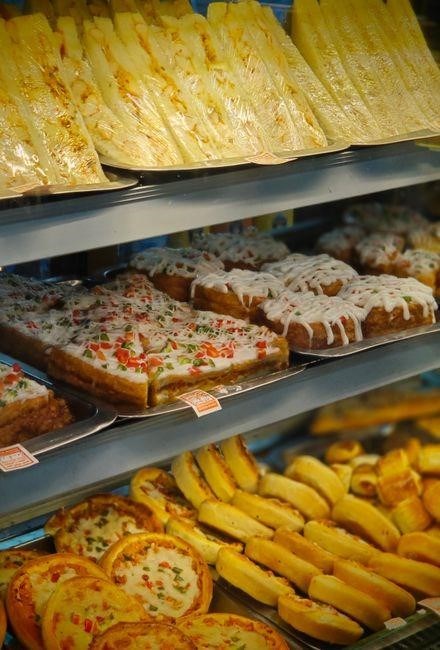
While microwaving offers speed, baking delivers texture and flavor that a microwave cannot match. When you bake pizza rolls, the heat circulates evenly, allowing the dough to rise slightly and develop a golden crust while the filling melts to a luscious, bubbly consistency. Microwaves, on the other hand, heat from the inside out, often leaving the exterior soggy or rubbery and the interior unevenly cooked. Baking also reduces the risk of over‑cooking the cheese, which can become greasy or rubbery in a microwave. The oven’s dry heat crisps the outer layer, creating a satisfying crunch that pairs with the savory filling. Additionally, baking can enhance the aroma of the cheese and sauce, making the experience more appetizing. For those who enjoy a quick snack, microwaving remains convenient, but for a more authentic, restaurant‑style bite, baking is the superior choice. The oven’s consistent temperature ensures that each roll reaches the same level of doneness, while the heat also helps the cheese melt uniformly, preventing pockets of raw filling. Finally, baking can be done in a single step—simply place the frozen rolls on a sheet, preheat the oven, and bake—without the need to monitor or stir, making it a low‑maintenance option for busy evenings. Now
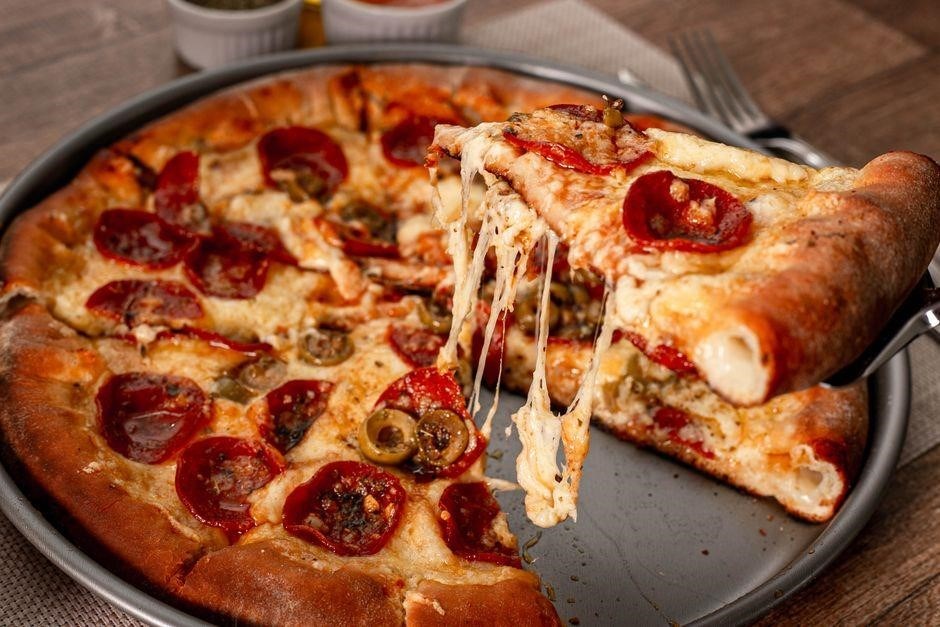
Moreover, baking can be tailored by adjusting oven temperature or adding a brief burst of high heat at the end to crisp the top. This flexibility is not possible with microwaves. For families who value speed and quality, a hybrid approach—preheating the oven before microwaving—can yield a compromise, but the oven method remains the gold standard for texture, flavor, and satisfaction now!
Essential Equipment and Setup
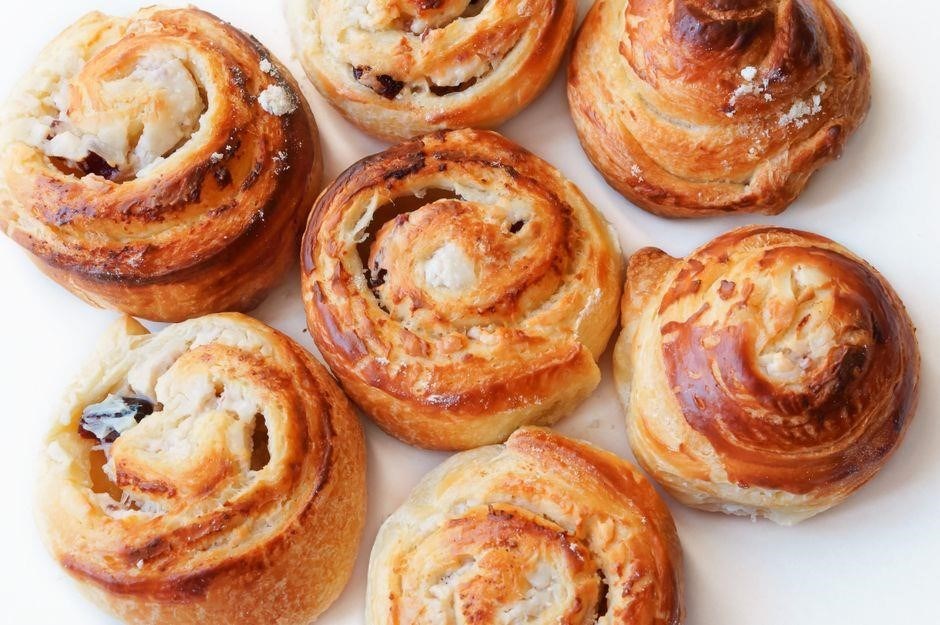
Use a rimless baking sheet, parchment paper, and a timer. Preheat the oven to 400°F (204 °C). Arrange rolls on the sheet with space between, then bake 10‑12 min. Flip halfway through for even browning. Keep the door closed to maintain heat. Enjoy a crisp, golden finish.!!
Choosing the Right Baking Sheet
When selecting a baking sheet for oven‑baked pizza rolls, consider material, size, and shape. A rimless sheet made of heavy‑gauge aluminum or stainless steel ensures even heat distribution and prevents the rolls from sticking to the edges. A non‑stick coating or a sheet lined with parchment paper or a silicone baking mat adds an extra layer of protection, especially if you plan to bake a large batch. The sheet should be wide enough to allow a 1‑inch gap between each roll; this spacing lets hot air circulate freely, ensuring that every roll browns uniformly. A shallow, rectangular sheet is ideal because it maximizes surface area while keeping the rolls close together for efficient cooking. If you prefer a more rustic look, a cast‑iron sheet can be used, but it may require a longer preheat time and careful monitoring to avoid over‑browning. For those who love a crisp crust, a sheet with a slight raised edge can help contain any juices that escape during baking, keeping the oven cleaner. Finally, ensure the sheet fits comfortably in your oven rack so that the rolls are not too close to the heating element, which could cause uneven cooking. By choosing the right sheet, you’ll achieve a golden, evenly cooked result every time. If you’re experimenting with different fillings, a sheet with a light‑colored surface helps reflect heat, preventing the tops from burning while the centers cook through. Also, consider a sheet that can be cleaned easily; a dishwasher‑safe aluminum sheet saves time after a busy game‑day snack session. When storing the sheet, keep it in a dry place to avoid rust or warping. By paying attention to these details, you’ll set the foundation for a flawless pizza roll baking experience. Remember to preheat the sheet with the oven to maintain consistent temperature, and rotate the sheet halfway through baking to counter any oven hot spots.
Preheating the Oven Correctly
Preheating is the cornerstone of a perfectly baked pizza roll. Set your oven to 400 °F (204 °C) and allow it to reach the target temperature before placing the baking sheet inside. A properly preheated oven ensures even heat distribution from the moment the rolls enter, avoiding sogginess and uneven browning. Use an oven thermometer to verify the exact temperature; most ovens vary slightly, and a thermometer guarantees accuracy. If you’re using convection, set the fan to low or medium to prevent drying. Position the rack in the middle of the oven for optimal airflow. If you need to check progress, wait until the rolls have baked for at least 8 minutes before briefly peeking. Keep the door closed for the remainder of the bake, allowing the rolls to develop a crisp exterior while the interior melts to a gooey perfection. Once the oven has reached the desired temperature, let the baking sheet sit in the oven for a minute or two to warm up. This preheat step ensures the sheet itself does not absorb too much heat from the rolls, which could otherwise cool the surface and result in uneven cooking. By following these preheating guidelines, you’ll set the stage for consistently golden, evenly cooked pizza rolls every time.
Modern ovens vary in heating elements and thermal mass, so preheat time can range from 10 to 15 minutes. If your oven has a “quick‑start” mode, use it to reduce preheat duration, but confirm the temperature with a thermometer. Preheating the sheet itself can create a searing effect on first contact, giving the rolls a slightly crispier crust. Remember that a preheated sheet also prevents condensation from forming on the rolls, which can lead to sogginess. Finally, consider the ambient kitchen temperature—on a cold day, preheating may take longer, while a warm kitchen can shorten the time. Mastering the art of preheating eliminates guesswork and yields reliable, mouth‑watering results.
Tip: If you’re in a hurry, use the oven’s “bake” setting rather than “roast” or “broil,” as the former delivers steady, even heat. Also, avoid preheating the oven with the door open; a closed door keeps the heat inside, ensuring the oven reaches the set temperature faster. Some ovens display a preheat indicator light that turns off once the target is achieved; double‑check the temperature before adding the sheet to avoid under‑cooking. By following these steps, you’ll achieve consistent, golden results with every batch of pizza rolls. This meticulous approach ensures that every roll emerges with a perfectly balanced crust and filling. Enjoy!!
Preparing the Pizza Rolls
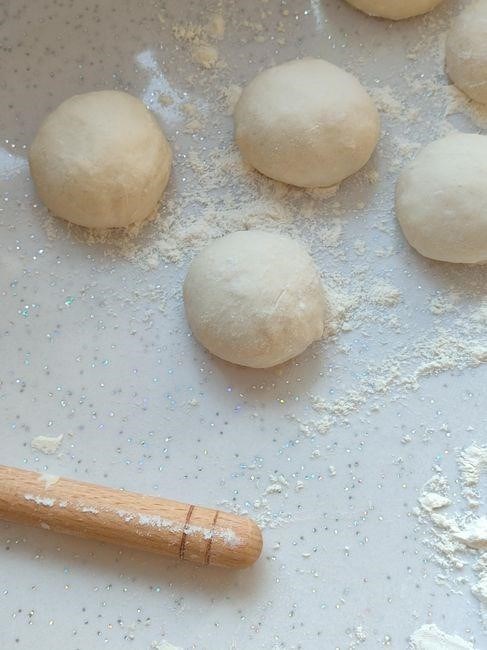
Arrange frozen rolls on a greased sheet, spacing 1‑inch apart. Avoid overlap to ensure even heat. A lightly sprayed sheet keeps them from sticking. Pre‑bake the sheet for a minute to lock in crispness. Then bake at 400°F, flipping midway for uniform browning. Enjoy!!!. Quick! Now!
Arranging on the Sheet for Even Cooking
When preparing pizza rolls for oven baking, arranging them on the sheet is key to even heat and a golden crust. Choose a sheet large enough to hold the batch without crowding; a 13‑inch by 18‑inch sheet works well. Lightly grease the surface or line with parchment to prevent sticking and ease cleanup; Place each roll with at least one inch of space between them so hot air circulates freely. Avoid stacking or overlapping, which traps moisture and yields soggy edges. If baking many rolls, use two sheets or a double layer of parchment, keeping layers separate for airflow. Preheat the oven to 400°F (204 °C) and allow the sheet to warm slightly; this helps the rolls start cooking immediately, shortening overall bake time. This method ensures uniform browning and crispiness;
To guarantee precision, use a kitchen ruler to measure spacing and mark a grid on the sheet with a light pencil. This grid keeps each roll in its own square, especially useful when preparing a dozen or more. If your oven has a convection setting, rotate the sheet halfway through baking to counter hot spots. After baking, lift the rolls with a silicone spatula to avoid tearing the crust. Let them rest on the sheet for a minute before transferring to a rack; this allows steam to escape and preserves crispness. Store leftovers in an airtight container at room temperature for up to two days, or freeze for longer. When reheating, a quick 2‑minute oven burst restores crispness without overcooking the filling. Enjoy! Savor! OK
Baking Instructions
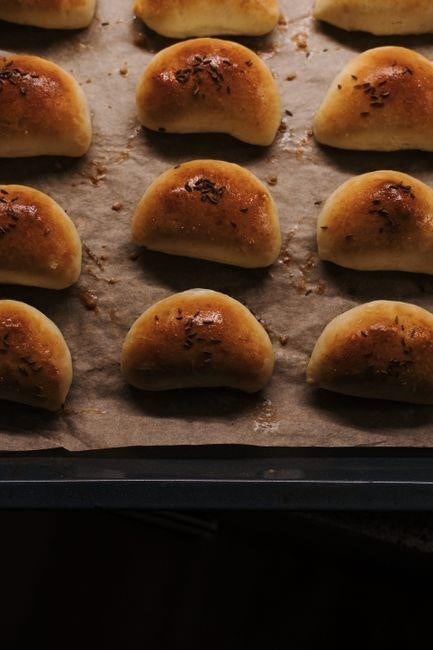
Place frozen rolls on a greased sheet, 10‑12 min at 400°F (204 °C). Flip halfway for even crispness. After baking, let rest 1 min before serving. Keep the oven door closed to maintain heat. Enjoy a quick, tasty snack! Bake until golden and bubbly, then let cool. Serve hot! Enjoy! OK! Keep warm by covering loosely.!!
For optimal results, preheat your oven to 400 °F (204 °C). This temperature ensures the dough becomes golden brown while the filling reaches a safe internal temperature without overcooking the exterior. The 400 °F setting is recommended by the manufacturer for frozen pizza rolls, striking a balance between crispness and thorough heating. If your oven runs hot, reduce the temperature to 375 °F (190 °C) and extend the baking time by a minute or two. Conversely, if you prefer a chewier crust, lower the temperature to 375 °F (190 °C) and bake slightly longer, watching closely to avoid overbrowning. Always preheat the oven for at least 10 minutes before placing the rolls inside; this ensures a consistent cooking environment and helps prevent uneven browning. The recommended temperature is also suitable for most countertop ovens and air‑fryers, though the exact time may vary slightly. When baking, keep the oven door closed to maintain the heat, and avoid opening it during the first 8 minutes of cooking. This practice helps the rolls cook evenly and preserves the desired texture. After baking, let the rolls rest for a minute before serving to allow the filling to set slightly, preventing hot liquid from spilling out. This simple temperature guideline guarantees a delicious, safe, and satisfying snack every time. For those using a convection setting, reduce the temperature by 25 °F (14 °C) and monitor the rolls closely, as convection ovens circulate heat more efficiently. If you are baking a large batch, consider rotating the baking sheet halfway through to ensure uniform browning across all rolls!!!
Baking Time and Flipping Technique
To achieve a perfectly crisp exterior and a thoroughly heated filling, bake the frozen pizza rolls at 400 °F (204 °C) for a total of 10–12 minutes. Begin by placing the rolls on a lightly greased or parchment‑lined baking sheet, ensuring they are spaced evenly to allow air circulation. After the first 5–6 minutes, pause the oven and carefully flip each roll with a spatula or tongs. This mid‑bake turn promotes uniform browning on both sides and prevents the dough from becoming overly browned on the bottom. Return the sheet to the oven and continue baking until the rolls reach a golden‑brown hue and the internal temperature registers at least 165 °F (74 °C). If you prefer a slightly crispier crust, extend the baking time by an additional minute or two, but keep a close eye on the color to avoid burning. For convection ovens, reduce the temperature by 25 °F (14 °C) and adjust the time accordingly, as the circulating air cooks more efficiently. Once the rolls are done, let them rest on the sheet for 30 seconds before transferring to a wire rack or plate; this brief pause allows the filling to settle and reduces the risk of hot liquid leakage; Serve immediately with your favorite dipping sauce for a quick, satisfying snack. If you are baking a larger batch, consider rotating the entire sheet halfway through the cooking cycle to counter any uneven heat distribution. Using a timer set to 12 minutes ensures you do not overcook, while a digital thermometer inserted into the center of a roll can confirm the safe internal temperature. Remember to keep the oven door closed for 8 minutes, then open only for flipping up again..
Assessing Doneness
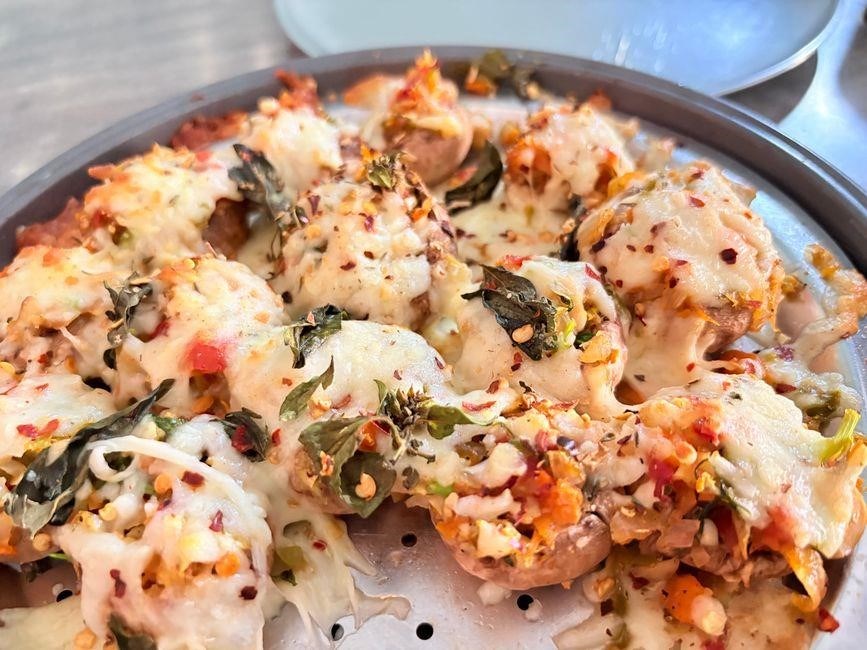
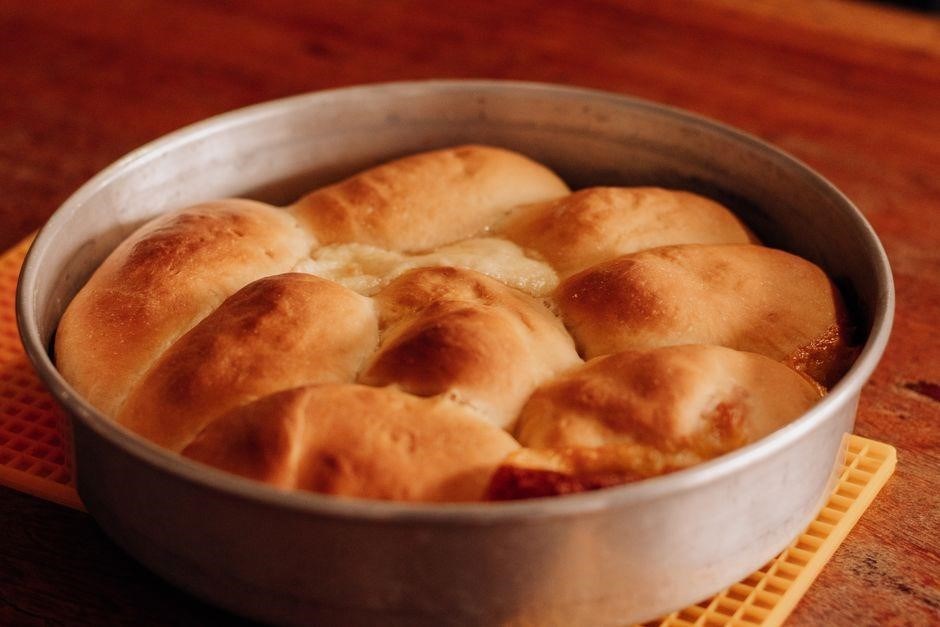
Check color, crisp edges, and a 165°F internal temp. Use a thermometer or cut one open to see gooey filling. If golden brown and steaming, they’re ready. Let rest 30 s before serving to lock in juices. A quick visual check: the crust should be golden and the cheese bubbling.!!!?
Visual Indicators of Freshness
When oven‑baked Totinos Pepperoni Pizza Rolls reach optimal doneness, the exterior should display a uniform golden‑brown hue, with crisp, slightly blistered edges that signal a well‑seared crust; A quick visual cue is the presence of steam rising from the surface, indicating that the filling has fully melted and is still hot inside. If you slice one open, the cheese should be bubbling and the pepperoni visibly browned, not pale or raw. The dough should feel firm yet pliable, not doughy or dough‑like. A slight sheen on the crust often denotes a buttery finish, while a matte finish may suggest under‑cooked rolls. Finally, the overall shape should remain intact, with no sagging or puffing that would indicate over‑cooking or a compromised seal. These combined visual signals confirm that the rolls are fresh, safe to eat, and ready to serve immediately for a satisfying bite.
Notice the crispness of the crust: a firm bite with a subtle crackle is a sign of proper baking. The cheese inside should be molten, with a slight sheen, and the pepperoni slices should show a hint of browning at the edges; Steam rising from the rolls indicates that the filling is hot and moist, not dry. If you cut one open, the interior should be hot throughout, with no cold spots. The dough should be firm yet pliable, not doughy, and the overall shape should stay intact without sagging. These cues guarantee that the pizza rolls are freshly baked and ready to serve. Enjoy them hot for maximum satisfaction. Serve hot for taste now.
Using a Thermometer for Accuracy
To guarantee that each pizza roll reaches the safe internal temperature, use a digital instant-read thermometer. Insert the probe into the center of a roll, avoiding the crust, and wait until the reading stabilizes. The USDA recommends a minimum internal temperature of 165°F (74°C) for frozen pizza rolls to ensure that any potential bacteria are destroyed. Because the filling is often cheese and cured meats, the heat must penetrate the entire pocket. A quick glance at the thermometer can reveal whether the rolls are truly cooked through or still underdone.
When measuring, aim for the thickest part of the roll, which is usually near the center. If you find a reading below 165°F, continue baking for an additional minute or two, then recheck. Consistency is key: all rolls should be at the same temperature before you remove them from the oven. Some cooks prefer to use a probe thermometer that stays in the oven, but a handheld instant-read device is more common for quick checks.
A thermometer also helps you avoid overcooking. Overheated rolls can become dry and tough, especially if the cheese has already melted. By stopping the bake at the precise moment the internal temperature hits 165°F, you preserve the tender filling and crisp crust. This method is especially useful when baking a large batch, as it eliminates guesswork and ensures every roll is safe, juicy, and ready to serve.
For those who prefer a, a probe thermometer can be left in the oven, giving real‑time feedback and eliminating the need to open the door repeatedly, which keeps heat locked in.!